Have you ever looked at your favorite jacket or bag and thought it could use a little more edge? For fans of Kentaro Miura's dark fantasy epic, Berserk patches are the perfect way to carry the struggle and triumph of Guts with you. But with so many designs and application methods out there, choosing the right patch and attaching it correctly can be overwhelming. This berserk patches guide 2026 will walk you through the best designs, how to apply them, and how to keep them looking sharp for years.
← Back to Blog
Berserk Patches Guide 2026: Best Iron-On and Sew-On Designs
Discover the best Berserk patches for 2026, including top designs like the Brand of Sacrifice and Eclipse. Learn how to apply iron-on and sew-on patches, where to display them, and how to care for your collection.
Why Collect Berserk Patches
Berserk isn't just a manga or anime - it's a statement. The themes of perseverance, sacrifice, and raw power resonate deeply with millions of fans worldwide. Patches let you wear that symbolism without committing to a full outfit. They're small, customizable, and easy to swap between gear.
In 2026, the community has grown even more passionate. Conventions, online forums, and social media groups are buzzing with patch trades and display ideas. Collecting patches has become a way to connect with other Strugglers and show off your favorite moments from the Golden Age arc or the fantastical horrors of the Eclipse.
Beyond fandom, patches serve a practical purpose. They reinforce worn areas on denim jackets or canvas bags and add a unique flair that mass-produced clothing can't match. In my experience, a well-placed Brand of Sacrifice patch sparks more conversations than any t-shirt ever could.
Top Berserk Patch Designs for 2026
Brand of Sacrifice
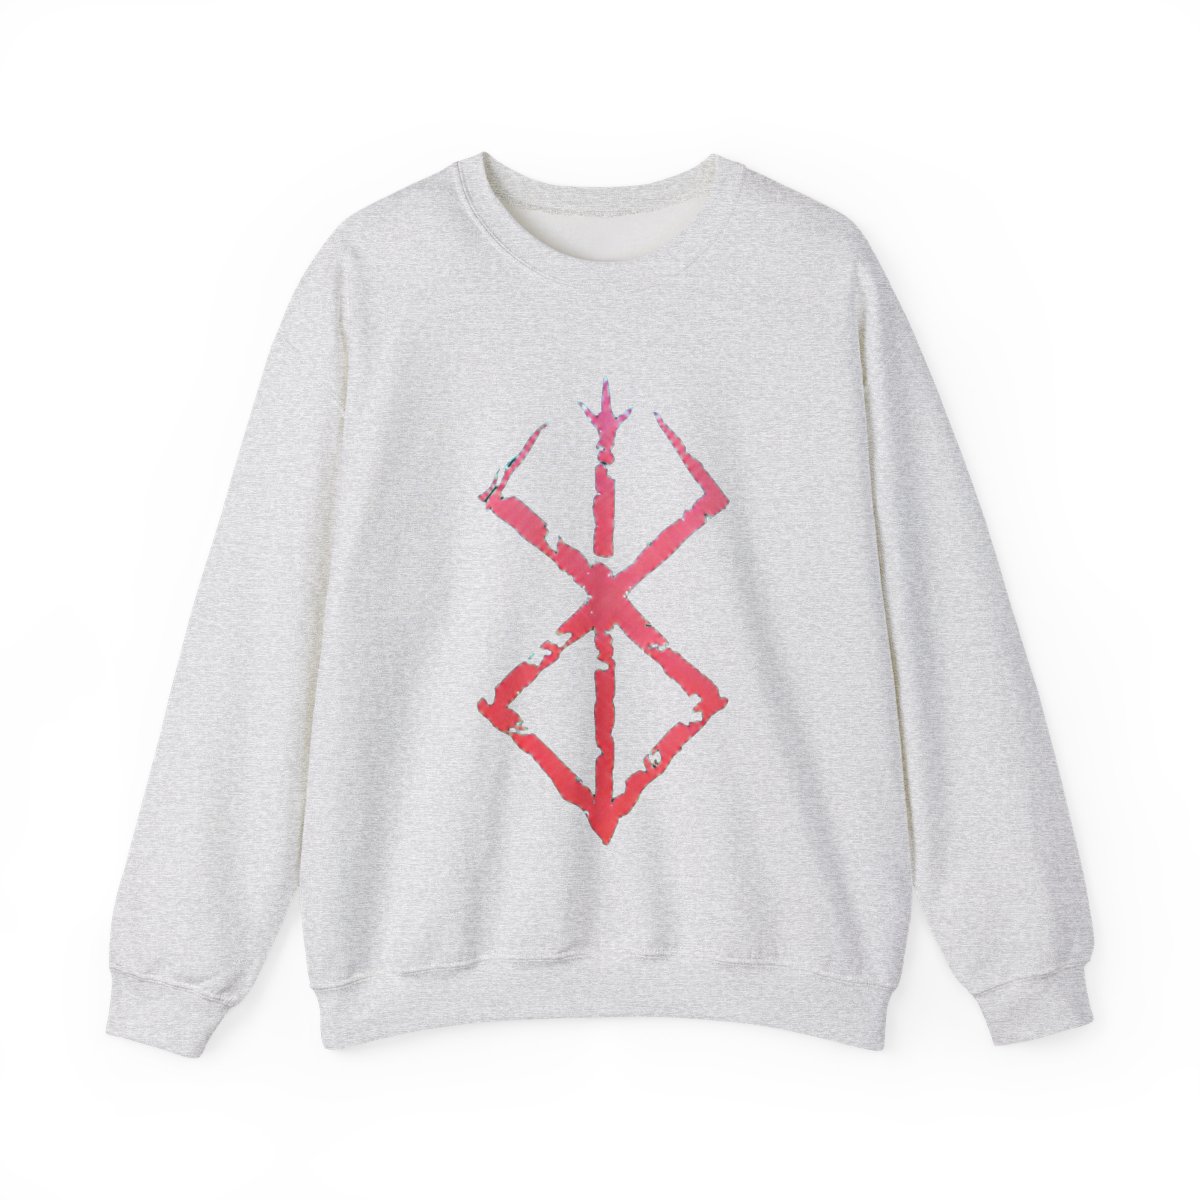
This is the most iconic symbol from the series. The crimson brand that marks Guts and Casca as sacrificial offerings appears in countless fan interpretations. Look for patches that use deep red thread on a black background - the contrast makes it pop. Our store's Brand of Sacrifice iron-on patch measures 3 inches wide and uses a heat-activated adhesive that bonds firmly to cotton, denim, and polyester blends.
Eclipse Scene
The Eclipse is the turning point of the story. Patch designs often show the glowing red eye of the God Hand or the silhouette of Femto. These detailed patches require high-density embroidery to capture the fine lines. A sew-on option is better here because the intricate design can shift during ironing.
Guts' Dragon Slayer
Nothing says "Berserk" like the massive hunk of iron Guts calls a sword. Dragon Slayer patches are typically larger - around 4 by 2 inches - and work best on the back of a denim jacket or the front of a canvas tote. The silver and gray threads give it a metallic sheen.
Other Fan Favorites
- Skull Knight's horse silhouette
- Casca's sword and cape
- Puck in his various forms
- The Hawks emblem
All these designs are available as both iron-on and sew-on versions in our Berserk patch collection.
How to Apply Iron-On Patches
Irion-on patches are convenient, but they need proper heat and pressure to stay put. Follow these steps for a bond that lasts through washes.
Step 1: Prepare the Fabric
Pre-wash the garment to remove any sizing or dirt. Dry it completely. Place the fabric on a hard, heat-resistant surface like an ironing board. Do not use a padded surface - the heat needs to press through evenly.
Pro tip: If the fabric is thick (like a denim jacket), lightly dampen a cloth and place it over the patch before ironing. The steam helps the adhesive penetrate deeper.
Step 2: Position and Pin
Set the patch exactly where you want it. Use a few safety pins or a temporary fabric glue stick to hold it in place. This prevents shifting when you start ironing.
Step 3: Heat and Press
Set your iron to the highest heat setting appropriate for the fabric (cotton/linen is usually 200°C or 400°F). Turn off steam. Place a thin cotton cloth over the patch to protect the embroidery. Press the iron down firmly and hold for 30 seconds. Do not move the iron around - keep it stationary. Lift, reposition, and repeat for overlapping sections.
Common mistake: Lifting the iron too soon. The adhesive needs a solid 30 seconds of constant heat. If you lift early, the patch may peel off after a few wears.
Step 4: Cool and Check
Let the patch cool for 5 minutes. Then gently test an edge. If it lifts, repeat the ironing step with more pressure. Once secure, turn the garment inside out and iron the back for 15 seconds to fuse the fabric side.
Step 5: Machine Wash with Care
Wait 48 hours before washing. Turn the garment inside out, use cold water, and air dry. Avoid bleach or fabric softener - they weaken the adhesive over time.
Sew-On Patches vs Iron-On: Which to Choose
Both methods have their strengths. Here's a quick breakdown based on my decade in the POD industry.
| Factor | Iron-On | Sew-On |
|---|---|---|
| Ease of application | Easy - just heat and press | Requires needle and thread |
| Durability | Good for gentle use; may peel after many washes | Very durable; stitches won't fail |
| Fabric types | Best on cotton, denim, polyester | Works on any fabric, including leather |
| Design complexity | Better for simple shapes | Ideal for intricate designs |
| Removal | Difficult without damaging fabric | Easy to remove with seam ripper |
When to choose iron-on: If you're new to patches or want quick customization without sewing skills. Perfect for cotton t-shirts, denim jackets, and canvas bags. Our iron-on patches use a strong heat-activated adhesive that withstands regular wear.
When to choose sew-on: For fabrics that can't handle heat (nylon, leather, delicate synthetics) or for patches with fine details that might be ruined by pressing. Also, if you plan to swap patches often, sew-on is easier to remove.
My advice: If you're unsure, buy a sew-on patch and use fabric glue as a temporary hold. Then add stitches later if you like the placement. This gives you flexibility without commitment.
Where to Display Your Patches
A Berserk patch can elevate almost any accessory. Here are the most popular spots in the community.
Denim Jackets
The classic choice. Place the Brand of Sacrifice on the upper left chest for a subtle nod, or go bold with an Eclipse patch on the back. The shoulder area works well for smaller patches.
Backpacks and Totes
Canvas bags offer a large, flat surface. A Dragon Slayer patch on the front of a tote makes a strong statement. For backpacks, consider the top flap or the front pocket.
Hats and Beanies
Slap a small Brand of Sacrifice patch on the front of a beanie or the side of a snapback. It's a low-key way to rep your fandom.
Vests and Battle Jackets
These are dedicated patch displays. Fill a vest with a mix of Berserk patches and other band or anime patches. The community calls these "patch vests" or "battle jackets." They're a staple at metal shows and anime conventions.
Laptop Sleeves and Gaming Chairs
For the stay-at-home fan, patches on laptop sleeves or the back of a gaming chair add a personal touch. Use sew-on patches here because the fabric is often synthetic and can't handle iron heat.
Caring for Your Patch Collection
To keep your patches looking fresh for years, a little maintenance goes a long way.
Washing
Always turn the garment inside out. Use cold water and a gentle cycle. Never machine dry - heat from the dryer can weaken iron-on adhesive or shrink the fabric, causing the patch to pucker. Air dry flat instead.
Storage
If you store patches separately, keep them in a cool, dry place away from direct sunlight. The UV rays can fade the embroidery threads over time. Zip-close bags with silica gel packets work well.
Repair
If an iron-on patch starts peeling, re-iron it with a cloth. For sew-on patches, reinforce loose edges with a few stitches. Use a thread color that matches the patch border to make repairs invisible.
Rotation
Many collectors rotate patches seasonally. Keep a drawer or box with spare patches and swap them out when you want a fresh look. This extends the life of each patch and keeps your gear feeling new.
FAQ
How do I remove an iron-on patch without damaging the fabric?
Heat the patch with an iron for 10-15 seconds to soften the adhesive, then gently peel it off. Use rubbing alcohol or a commercial adhesive remover on any residue. Test on a hidden area first.Can I iron a patch onto a leather jacket?
No - leather can't withstand high heat. Instead, choose a sew-on patch and stitch it onto the leather using a heavy-duty needle. You can also use leather-safe fabric glue if you don't want permanent stitches.What's the best thread for sewing on patches?
Use polyester thread - it's strong and resists UV fading. Thick thread (like topstitching thread) works best for heavy fabrics like denim. Match the thread color to the patch edge or the garment color for a clean look.How long do iron-on patches typically last?
With proper application and gentle washing, iron-on patches can last 6-12 months of regular wear. For longer life, sew around the edges after ironing - this hybrid approach gives you the best of both worlds.Are Berserk patches officially licensed?
Our store's patches are fan-made designs inspired by the series. They are not officially licensed or endorsed by the creator's estate. We focus on high-quality embroidery and original artwork that respects the source material.Key Takeaways
- Berzerk patches are a versatile way to show fandom and customize gear.
- The Brand of Sacrifice, Eclipse, and Dragon Slayer are top designs for 2026.
- Iron-on patches are easy but require precise heat and pressure; sew-on patches are more durable and flexible.
- Display patches on denim jackets, bags, hats, or vests for maximum impact.
- Care for patches with gentle washing and proper storage to extend their life.
Related Posts
Shop Berserk Merch
Official merchandise — premium quality, designed for the community.